Going for a walk on the beach means taking along a bag just in case I find a neat piece of driftwood. Well, after awhile, those neat pieces tend to accumulate and gather in the garage – so I had seen an idea somewhere to make a driftwood shelf. Idea! That would be awesome to make and use up some of the bits of wood..

I seem to be in a gnome and fairy mode right now and I like to make the little funny guys with big noses. These seemed to just fit on the shelf with candles once I got it all put together. It’s a fun project and here is how to make it.
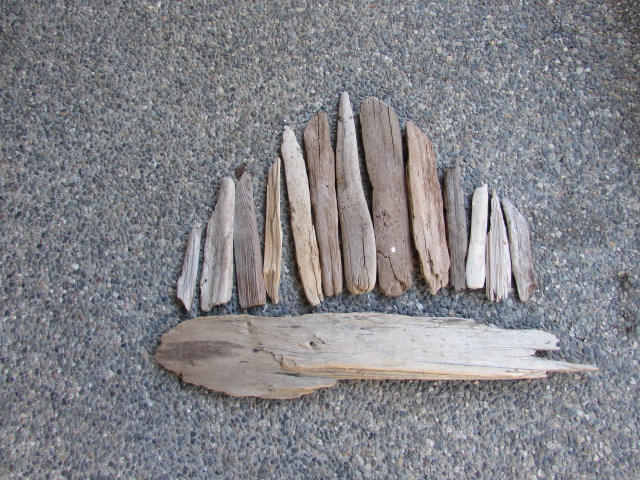
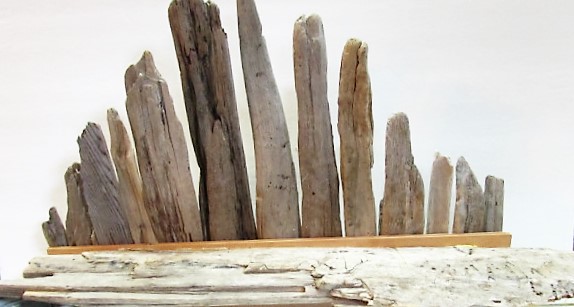
I began by going through my bits of driftwood finding pieces that would fit for the backdrop and then could be screwed onto the shelf part.
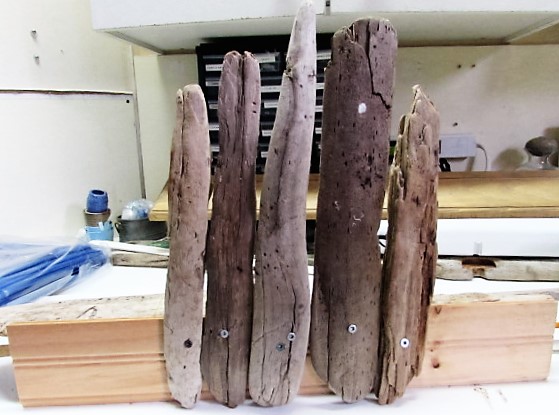
I added a short piece of backing board (in this case a piece of trim wood) and drilled through the driftwood and the shelf board using screws for strength.
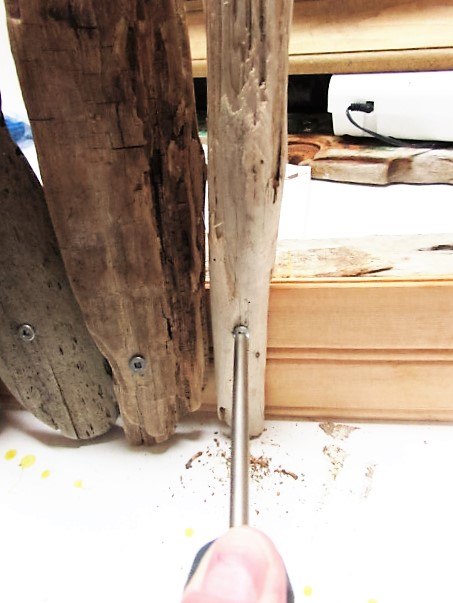
Predrilling holes just a bit smaller than the screws really helps!
Looking at the piece from the back. Once all the screws were in, I used carpenters glue to add a little more strength where each piece joined the backing board.
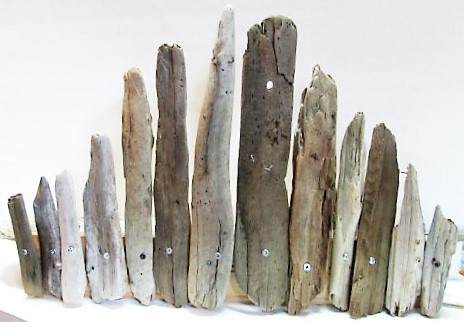
This is the front of the piece and you can see that the backing board sits about an inch above the shelf piece. At this point it needs to be propped up. Then I had to find some smaller pieces of driftwood to cover the backing board showing below the shelf.

Laying it flat on the counter, you can see where the driftwood was attached to the backing board at the bottom. Sorry, the photo doesn’t give much of an idea of flats and uprights.
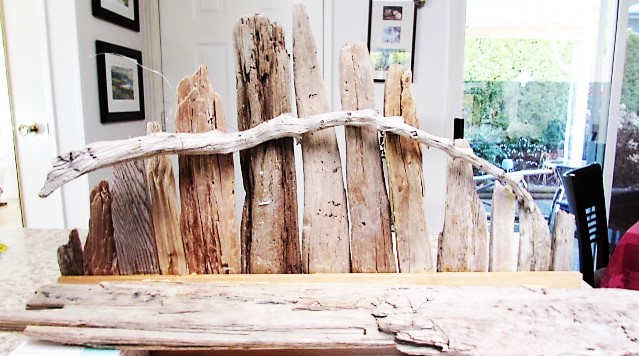
I added this branch across the upright pieces and wired it on followed by gluing with Carpenters Glue.
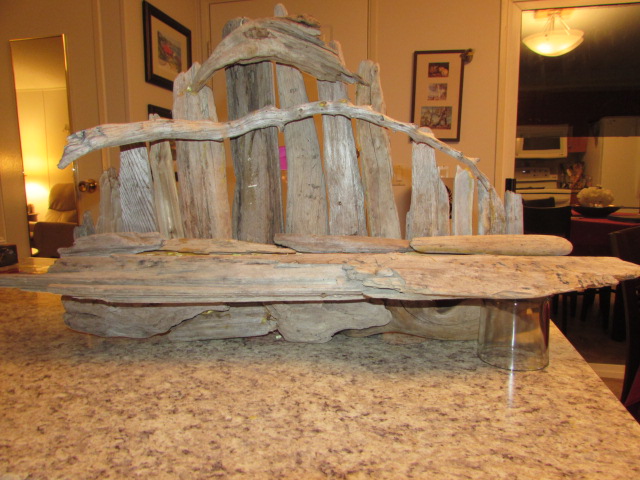
One more curvy piece of driftwood was added to the very top, being glued on and also several small flat pieces along the top of the backing board so it can’t be seen at this angle. I placed a small glass under one end to show what it will look like when hung on the wall.
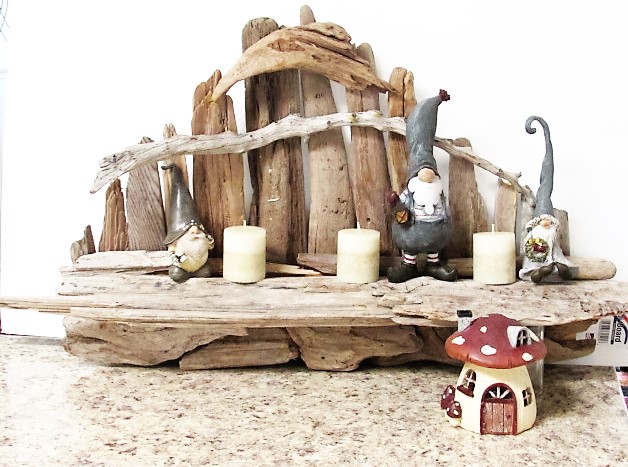
And here is the finished piece – you can add whatever you wish to the shelf to make it seasonal. I Forgot to mention that I added a saw tooth hanger at the back of the two tallest pieces of driftwood and it holds the piece perfectly on the wall.
This was a fun project to do, and it certainly helped use up some of the driftwood. Gosh, the weather here is so beautiful, perhaps it’s time to go for another beach walk!
Wishing you a happy and peaceful new year, I won’t be posting until sometime in March as I’m taking a bit of a holiday away. See you in the spring!

Check out this link: http://en.rocketnews24.com/2016/03/11/cats-made-out-of-bread-bag-clips-the-pointless-but-undeniably-cute-japanese-twitter-trend/
LikeLike
Absolutely cute and so easy! I wish I had a brain that could see things like that! Usually I have to see something to get an idea, then I can change it or enhance! Thanks Liz! Apparently my blog here was hidden due to some unforeseen situation with WordPress. Had message while away that they have fixed it! We will see I guess.
LikeLike
Not posting yet?
LikeLike
No, I think it was causing me so much anxiety because I would almost finish a craft before taking pix and when I craft I just like to get on with it. I think I will just carry on with my travel blog. Did a couple of posts with photos on Universal.
LikeLike