
Lighted fairy dwelling.
For this project you will need a small jar with an opening large enough to place a small candle light inside, some clay or other type of formable self drying substance, a rolling pin, paint colours you like – whatever brand you prefer to use, a small sharp knife and away you go.

I used Fima clay but any formable type of clay like substance will work as well.
A rolling pin or even a jar can be used to roll out the clay so it is an even thickness, not too thin or it will crack when it dries. I found this out through trial and error!
Place your jar on the flattened clay and with a sharp knife cut top and bottom evenly to cover the jar, leaving the twist part free to add the lid later.
Again with a sharp knife, cut out the window openings. Then roll out thin flat pieces for the window cross pieces.

Here are the cross pieces added and I also put a little overhang on the windows to give it some added depth.

Next I cut a couple of small openings where the door will go, add a piece of rolled clay around the door for definition. Remember, you don’t need to make everything perfect, in fact it should look a little woodsy and whimsical.

I wanted the door to look like it was surrounded by boulders so I just used a small metal tool I had to make the impressions.
Next came some added bits of vines, leaves and flowers. If your base has begun to dry, remember to add a little water to the back of the little pieces you are adding so they will stick.

Next thing was to make the cover for the lid. I had this little bell shaped glass piece so I just formed another rounded piece over it, then when it began to dry I placed it and formed over the lid.
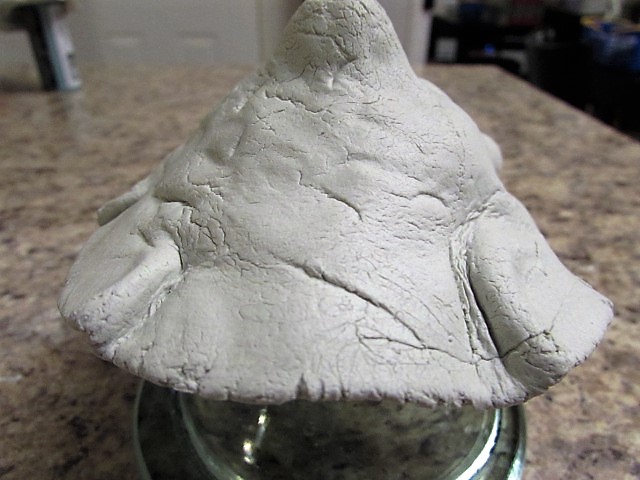
Don’t try to be too fussy about keeping everything symmetrical and smooth, rustic is better and you can paint it anyway and hide some of your errors!
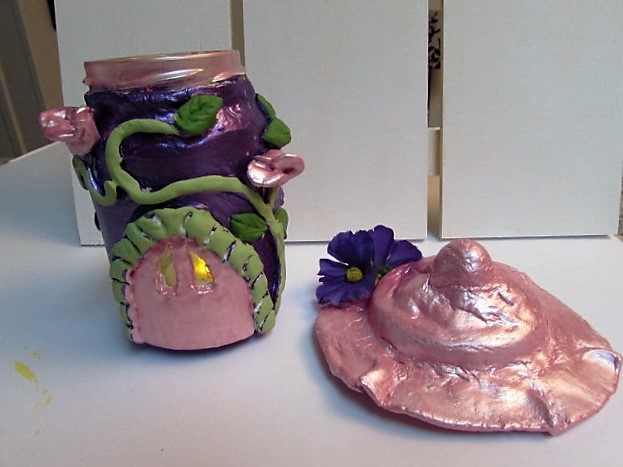
Here is the dried and painted jar and lid. I used a pear paint which gives the piece a nice shine, but I also use Mod Podge as a top coat for the less shiny pieces.

Tea lights – artificial flame candles are great for these projects which aren’t going to get hot, especially if you have small children around. They flicker like a real candle.
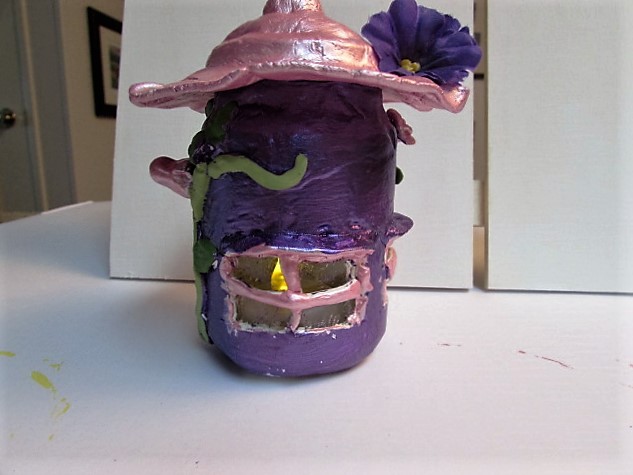
Here is the back with the window showing.

And the front. These are cute to put in a window at night, or even to use as a child’s night light! Your imagination will show you what you want your fairy light dwelling to look like. I do not put these outdoors as they are air dried, you would have to bake the clay and paint with waterproof paint if you wished to use them outdoors or in the garden. So, have fun, get your creative juices flowing and see what you can come up with!
This project took 3 days from beginning to end allowing enough time for the clay to dry and paint to set.
